
Homemade MAKEUP? Uh…yeah!
If you’re like me, you have spent obscene amounts of money for that swirl-swirl, tap-tap, brush-brush-brush-brush-brush mineral makeup they sell on tv.
Well kids, not only did I find the recipe, but I removed the nasty, irritating bismuth and replaced it with skin-loving kaolin clay, which achieves the same results and is better for the face, especially if you have sensitive skin.
At the end of the recipe and directions, I’ll tell you a pretty weird secret for a method of using it (or any mineral makeup), which results in the greatest, most flawless coverage I’ve ever encountered. Teaser, anyone?
Please excuse the less-than-professional pictures, by the way. I had to do this alone, with makeup all over my hands, using my phone! Hahaha!
Ok, here we go!
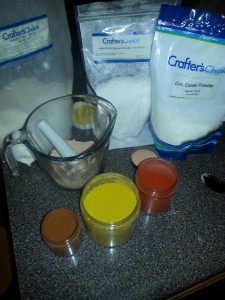
Ingredients (You can get all these ingredients at Wholesale Supplies Plus, online):
3 Tbsp Titanium Dioxide, aka White Pigment for Water. (I use the water-soluble kind for this, not the oil-soluble)
1 Tbsp White Kaolin Clay
4 Tsp. Zinc Oxide
The rest is color:
1/2 tsp. yellow oxide
1/16 tsp. brown oxide
1 pinch red oxide (seriously, take it easy on the red!)
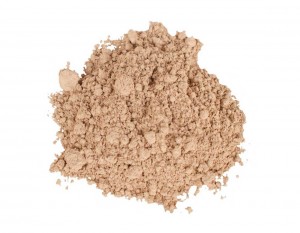
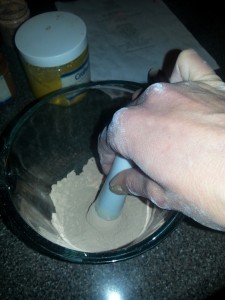
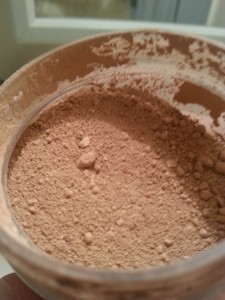
Blend very well…I like to use a mortar and pestle (or glass measuring cup and pestle in this case) to get rid of every last clump, and sometimes even run it through a fine sieve to make sure.
This recipe is for the lightest of skin. You’ll adjust it until it matches your face, adding mostly yellow and brown. Red goes a really long way, so be sparing if you need more. I’ve found that the red that’s in the brown is enough for my adjustments. The general rule on color here is that yellow can be used more heavily. Brown is for tanness, obviously, and red is for the rosy tone, but if you put in more than a few grains at a time, you could end up looking very blushy indeed!
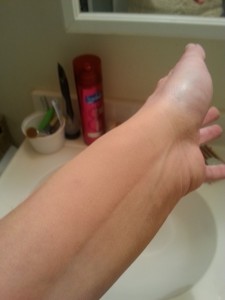
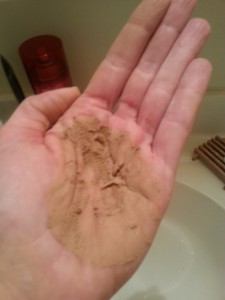
I test by simply dipping a finger into the dry mix and rubbing it onto my arm. When I’m close, I’ll hold my arm to my face, and perhaps test a little on my jaw, to make sure. This is the initial recipe, without any color adjustments (keep in mind, I’m on the darker side of white skin):

Notice the coverage here, by the way. Just dry, rubbed on with a finger, you can see how well it covers!
If you just need to go darker, use the brown. If it seems too blush, add some yellow. If it seems too yellow/sallow, add a few grains of red. Be sure to mix-blend-mix-blend like a crazy person after each color addition. Sometimes it takes a while for color adjustments to blend through the mix.
Don’t worry if you go a little too dark. Just add titanium dioxide (white pigment) to lighten. For the final color check, move to the room with decent lighting, where you actually put on your makeup, or you may get a colorful surprise when you’re getting ready for work tomorrow! Here’s what matches my face:
Now, I know that some people add a drop of almond oil, but I don’t like to do that. During my testing, oil made the finish less airbrushed, and didn’t last as long on the skin, due to body heat. It didn’t do anything for the coverage or the texture either. Just skip any oily additions!
The finished product is natural, hypoallergenic, and has an SPF of 25! Store in a closed container, and keep it dry!
Bonus: In the summer, when you get a little darker, just add some brown to match. In the winter, as your tan fades, just add a little white pigment (titanium dioxide) to lighten.
Weird But Wonderful Application Method
Are you ready for my weird secret method of applying this stuff? If you get good coverage and finish doing the swirl/tap/brush thing, by all means go for it! But I have a combination of rosacea and melasma, so my skin can be any patchy combination of three colors. Coverage is a real issue for me! Here’s what works:
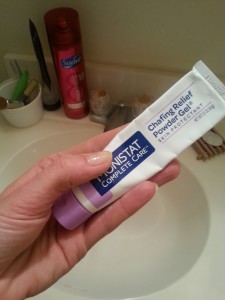
Monistat makes a product called “anti-chafing powder gel” or “chafing relief powder gel”. I know…Monistat…but stay with me! Mind over matter!
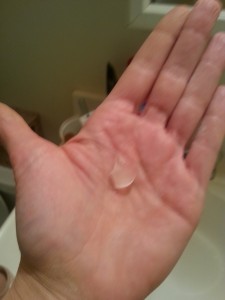
Put a dollop in your palm, about the size of 2 or 3 peas. Tip out some of your powder foundation, maybe a half-teaspoon. Mix with your finger and then smooth it on like regular cream foundation.
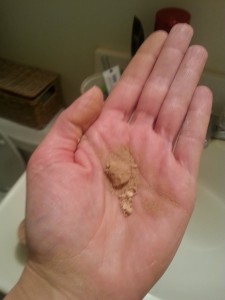
It may seem crumbly and dryish and strange, but I’ve never had a more flawless finish or better coverage. No lotion or primer or anything under it. The gel takes care of all that! Just a clean face and your fingers. The amount shown, maybe 3/4 teaspoon in total, is enough to cover my whole face and neck. This stuff lasts a long time!
That’s it!
Where you’ll spend around $50 or more buying the stuff off the tv, and end up having to mix that to your skin tone every day, here you have something custom-matched to your skin, excellent in quality and performance, and all for about $6 per recipe. I love saying sentences like that!
Happy primping, ladies!

Leave a Reply